

SMTP Email Relay Setup
Authelia requires sending email to users when setting up two-factor authentication. Unless there is already a mail server or mail relay running within your domain, this guide is a quick primer on how to setup a local mail relay to forward e-mails through Gmail’s smtp servers. This guide demonstrates how to setup Postfix as a Mail Transfer Agent (MTA) in order to send mail from the Authelia’s host server.
- Package Installation
- Postfix Configuration
- Gmail App Specific Password Setup
- Using Gmail’s App Specific Password within Postfix
- Enable/Start Postfix
- Test Configuration
- Debugging
- Port 465 vs Port 587
– ROOT WARNING: Please perform commands listed below as the root user (su/sudo)
Package Installation
Install postfix and accompanying packages for your linux distribution. Commands for Ubuntu and Arch are listed below. If you are using other linux distributions, package names may be different. Consult your distribution’s repository pages to try to find the corresponding package.
$ apt postfix libsasl2-modules mailutils ca-certificates
$ pacman -S postfix libsasl mailutils ca-certificates-utils
Postfix Configuration
When installing the postfix package, you’ll be greeted with a screen similar to the following:
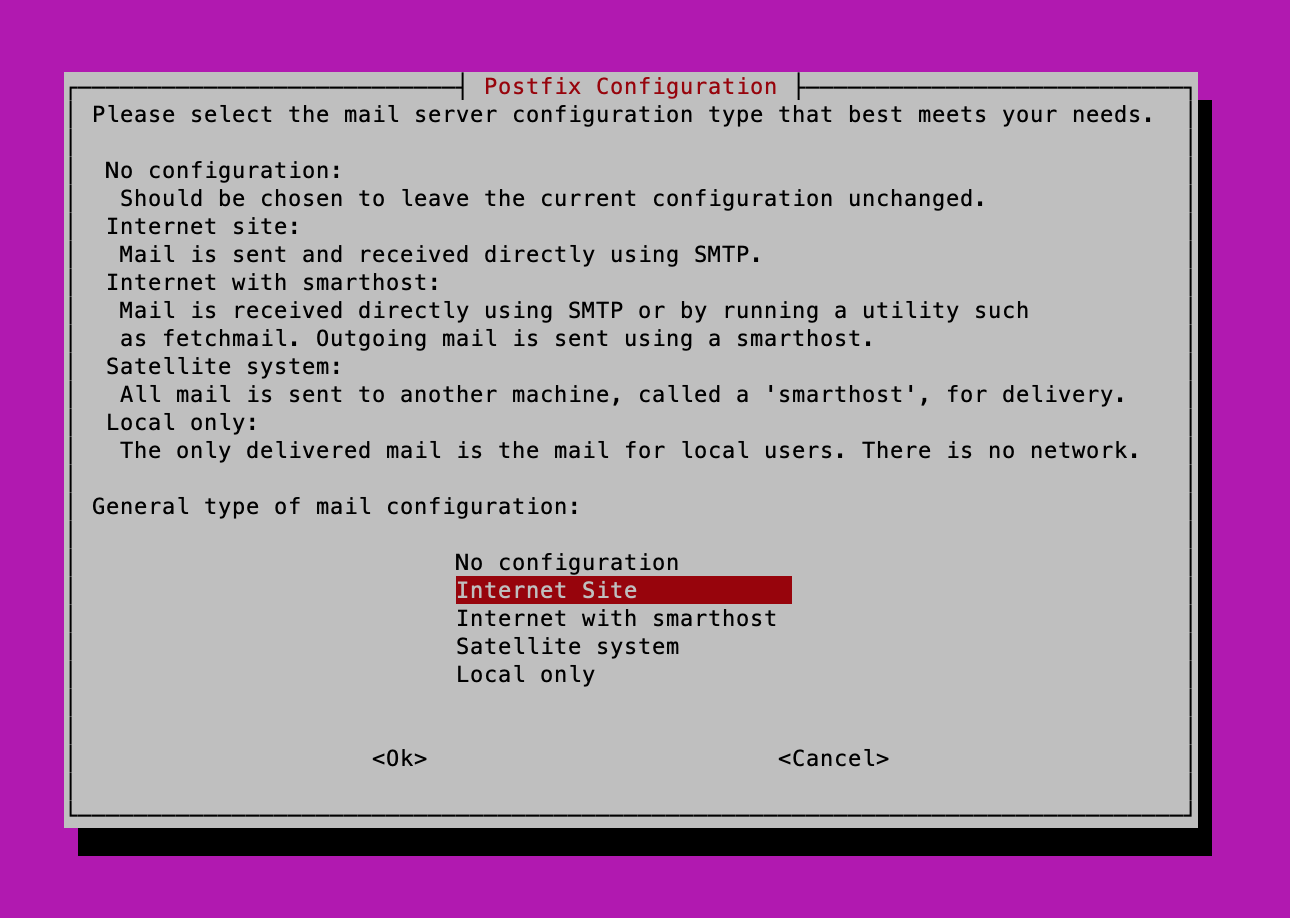
It’s Ok at this point to select any option, as I’ll be providing a very basic postfix main.cf file below.
$ cd /etc/postfix
$ mv main.cf main.cf.bak
$ vim main.cf
Paste the contents of main.cf1 below. This will give you a very basic mail relay setup in which only mail originating from the host machine will be forwarded to Gmail.
# See /usr/share/postfix/main.cf.dist for a commented, more complete version

## MANDATORY to adjust these parameters
myhostname = <hostname>.<domain.com>
mydomain = <domain.com>

# Verify this file exists or you will need to install the correct package for your distribution
# ubuntu apt install ca-certificates
# arch pacman -S ca-certificates-utils
smtp_tls_CAfile = /etc/ssl/certs/ca-certificates.crt


# PLEASE CHOOSE ONLY ONE OPTION AT BOTTOM OF FILE
# Mail can either be sent over port 587 or 465 (Not both!).
# Both are valid Ports for Gmail
## TLS Option (Port 587)
## TLS Option (Port 465)
# Comment the Other Port Option That your are not Using

# Debian specific:  Specifying a file name will cause the first
# line of that file to be used as the name.  The Debian default
# is /etc/mailname.
#myorigin = /etc/mailname

smtpd_banner = $myhostname ESMTP $mail_name (Ubuntu)
biff = no

# appending .domain is the MUA's job.
append_dot_mydomain = no

# Uncomment the next line to generate "delayed mail" warnings
#delay_warning_time = 4h

readme_directory = no

# See http://www.postfix.org/COMPATIBILITY_README.html -- default to 2 on
# fresh installs.
compatibility_level = 2
inet_protocols = all

# mydestination =  localhost.localdomain, localhost
#mailbox_size_limit = 0
#recipient_delimiter = +
#inet_interfaces = all
#relayhost =
#mynetworks = 127.0.0.1/32 10.0.1.195/32 172.17.0.1/32 [::1]/128 [fe80::8444:f0ff:fe47:f619]/128 [fe80::42:1ff:feb6:8a82]/128


# Add following
myorigin = $myhostname
alias_maps = hash:/etc/postfix/aliases
alias_database = $alias_maps
sendmail_path = /usr/sbin/sendmail
newaliases_path = /usr/bin/newaliases
mailq_path = /usr/bin/mailq
home_mailbox = Mail/
mynetworks="127.0.0.0/8 [::ffff:127.0.0.0]/104 [::1]/128"
inet_interfaces=loopback-only
disable_vrfy_command=yes
smtpd_helo_required=yes

## SASL Option
smtp_sasl_auth_enable = yes
smtp_sasl_security_options = noanonymous


## Global Client TLS Options
tls_random_source = dev:/dev/urandom
smtp_use_tls = yes
#
### SMTP Parameters - (Medium) - Valid for Mailgun and Gmail
#smtp_tls_mandatory_protocols = !SSLv2, !SSLv3, !TLSv1, !TLSv1.1
#smtp_tls_protocols = !SSLv2, !SSLv3, !TLSv1, !TLSv1.1
#smtp_tls_mandatory_ciphers = medium
#tls_medium_cipherlist = ECDHE-ECDSA-AES128-GCM-SHA256:ECDHE-RSA-AES128-GCM-SHA256:ECDHE-E@@@
#
## SMTP Parameters - (Modern) - Valid for Gmail
smtp_tls_mandatory_protocols = !SSLv2, !SSLv3, !TLSv1, !TLSv1.1, !TLSv1.2
smtp_tls_protocols = !SSLv2, !SSLv3, !TLSv1, !TLSv1.1, !TLSv1.2
#

## Enable Options for Either Port 587 or Port 465

## TLS Option (Port 587)
#smtp_tls_security_level = encrypt
#Gmail SMTP
#relayhost = [smtp.gmail.com]:587
#smtp_sasl_password_maps = hash:/etc/postfix/sasl_passwd_GMAIL_587
## End TLS Options (Port 587)

## TLS Option (Port 465)
smtp_tls_security_level = encrypt
smtp_tls_wrappermode = yes
#Gmail SMTP
relayhost = [smtp.gmail.com]:465
smtp_sasl_password_maps = hash:/etc/postfix/sasl_passwd_GMAIL_465
## End TLS Option (Prot 465)
IMPORTANT
Please be sure to add the correct values for myhostname and the mydomain variables and verify the /etc/ssl/certs/ca-certificates.crt file actually exists.
Create an /etc/postfix/aliases file
vim /etc/postfix/aliases
Use the following example aliases file example to build your aliases file. Make sure to correct for the <variables> listed within the file.
root:	<user with root privileges>

<user with root privileges>:  <user email>

MAILER-DAEMON:	postmaster
postmaster:	root

bin:		root
daemon:		root
named:		root
nobody:		root
uucp:		root
www:		root
ftp-bugs:	root
postfix:	root


manager:	root
dumper:		root
operator:	root
abuse:		postmaster

decode:		root
After creating /etc/aliases, run the following two commands to build the alias database
$ newaliases
$ postalias /etc/aliases
Gmail App Specific Password Setup
Within Gmail please create an App Specific Password for postfix. You will need the generated password for the next step.
Using Gmail’s App Specific Password within Postfix
Create the sasl_passwd_GMAIL_587 and sasl_passwd_GMAIL_465 files. 587 and 465 refer to ports whereby mail can be relayed via SMTP/TLS or smtps. I’ve included both options here to be thorough. Ensure to replace the <variables> with the correct information. The
[smtp.gmail.com]:587 <email_address>:<app_specific_password>
Hash the Gmail passwd files created above and add to database
[smtp.gmail.com]:465 <email_address>:<app_specific_password>
$ postmap sasl_passwd_GMAIL_587
$ postmap sasl_passwd_GMAIL_465

$ chmod 600 sasl_passwd_GMAIL_587 sasl_passwd_GMAIL_465
Enable/Start Postfix
Start and enable the postfix service
$ systemctl enable postfix.service
$ systemctl start postfix.service
Test Configuration
Test Configuration by sending a test email
$ echo "Test Email Contents" | mail -s "Postfix Test Email" <recipient_user>@<domain.com>
$ postalias /etc/aliases
Replace recipient_user@domain.com with the email address to receive the test email, and confirm that the email was received.
Debugging
If there are errors in the process trying to send email, please look in the following locations to see if an error message may give and indication of the problem:
- /var/log/mail.log
- /var/log/mail.err
- journalctl -u postfix.service
You may need to increase the logging level within the master.cf file to generate more output. Please consult Postfix documentation for some useful tips for debugging postfix.
Port 465 vs Port 587
Control of Port Type is made through modification within the /etc/postfix/main.cf file. You should configure postfix to send mail using one but not both ports. Please make the following modifications to main.cf to reflect your port choice
## Enable Options for Either Port 587 or Port 465

## TLS Option (Port 587)
#smtp_tls_security_level = encrypt
#Gmail SMTP
#relayhost = [smtp.gmail.com]:587
#smtp_sasl_password_maps = hash:/etc/postfix/sasl_passwd_GMAIL_587
## End TLS Options (Port 587)

## TLS Option (Port 465)
smtp_tls_security_level = encrypt
smtp_tls_wrappermode = yes
#Gmail SMTP
relayhost = [smtp.gmail.com]:465
smtp_sasl_password_maps = hash:/etc/postfix/sasl_passwd_GMAIL_465
## End TLS Option (Prot 465)
## Enable Options for Either Port 587 or Port 465

## TLS Option (Port 587)
smtp_tls_security_level = encrypt
#Gmail SMTP
relayhost = [smtp.gmail.com]:587
smtp_sasl_password_maps = hash:/etc/postfix/sasl_passwd_GMAIL_587
## End TLS Options (Port 587)

## TLS Option (Port 465)
#smtp_tls_security_level = encrypt
#smtp_tls_wrappermode = yes
#Gmail SMTP
#relayhost = [smtp.gmail.com]:465
#smtp_sasl_password_maps = hash:/etc/postfix/sasl_passwd_GMAIL_465
## End TLS Option (Prot 465)